Some people learn design at art school. I learned a lot of mine from YouTube, late at night, pausing a tutorial every thirty seconds to figure out which tool the person on screen had just clicked.
This portrait of Gollum is one of the first things I made that way. I was teaching myself Illustrator, found a tutorial on low-poly portraits, and decided to follow along. As for the subject, that was easy. The Lord of the Rings is my comfort movie. I've watched it more times than I'd like to admit, and Gollum, with all those sharp angles and that wild expression, felt like the perfect face to break into triangles.
Years later, I still like this piece. Not because it's perfect, but because of what it taught me.
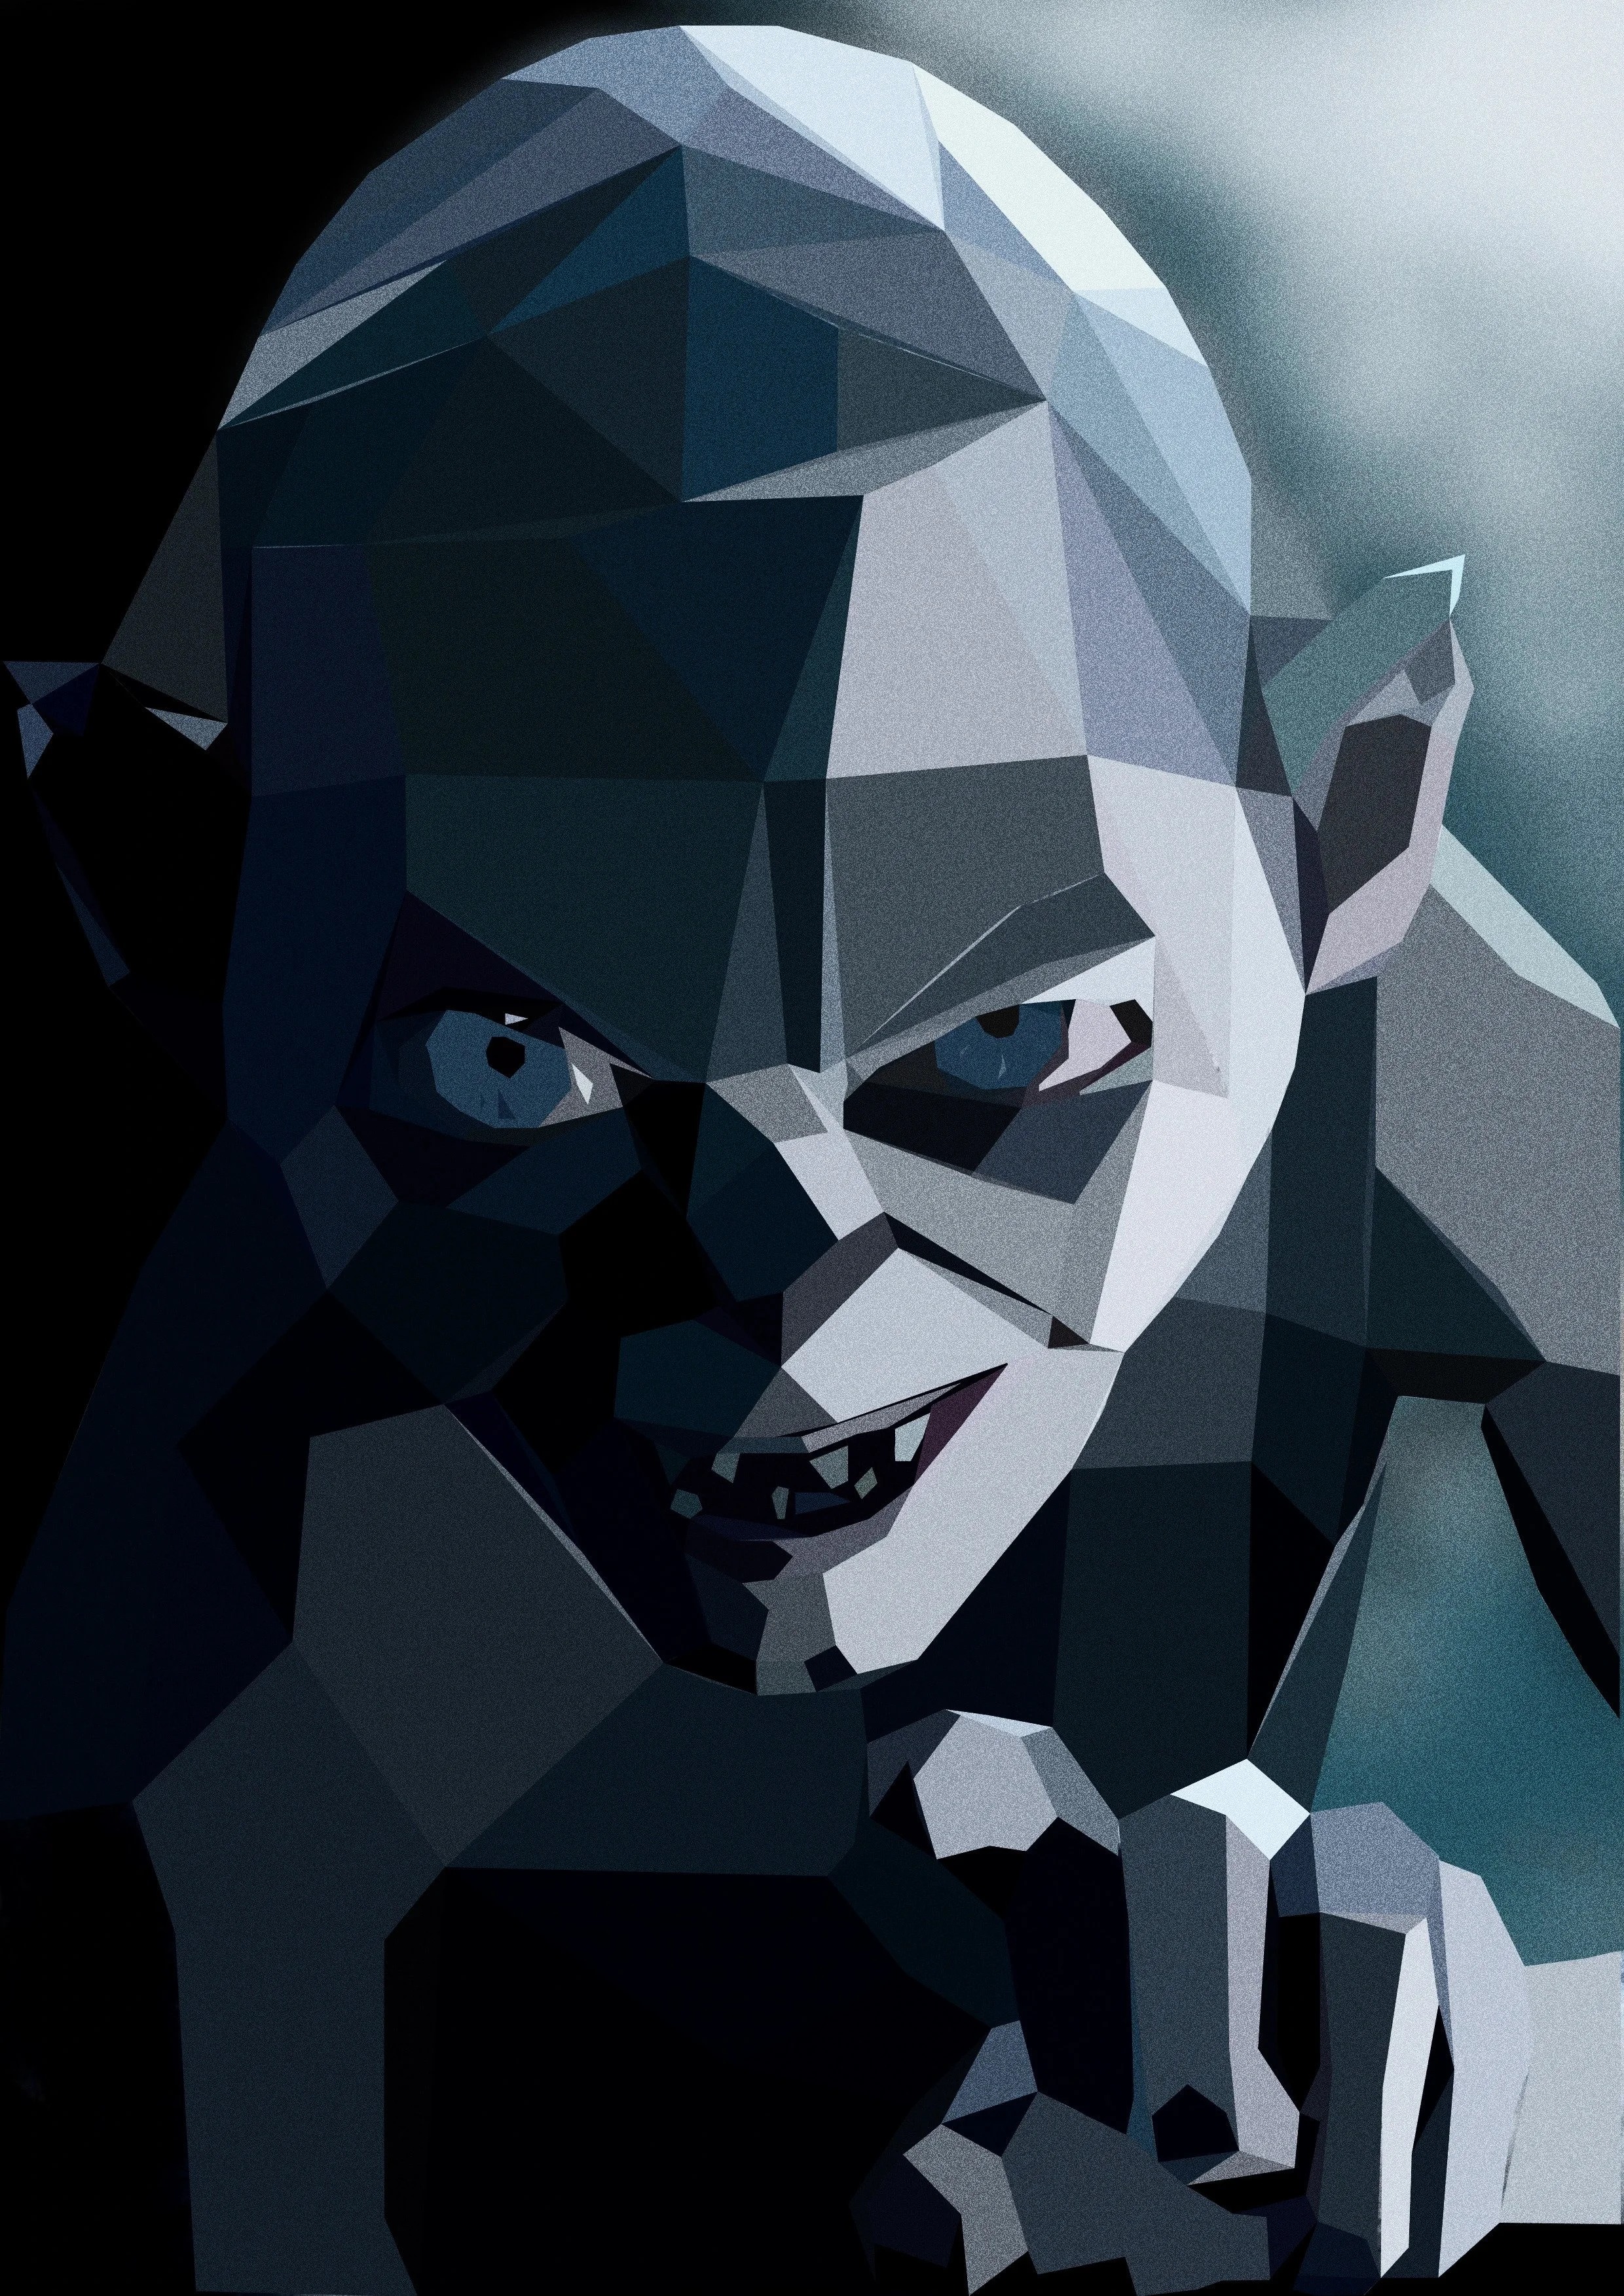
How a low-poly portrait works
Low-poly means building an image out of flat triangles instead of smooth shading. From a distance, your eye blends them into a face. Up close, it's all geometry. The process is simpler than it looks, just slow.
Start with a reference. Place a photo in Illustrator, lower its opacity and lock the layer. Everything is drawn on top of it.
Draw the triangles. On a new layer, use the Pen tool to connect points across the face. Use small triangles where there's detail, like the eyes, mouth and fingers, and bigger ones on flatter areas like the forehead.
Follow the light. Place your points along the edges where light meets shadow: the cheekbones, the brow, the line of the nose. This is what makes the face feel three-dimensional.
Pick the colours. Select each triangle and use the Eyedropper to sample the colour of the photo underneath. Then adjust by eye. Slightly lighter or darker shades make the planes read more clearly.
Hide the photo. Remove the outlines, hide the reference, and see what's left. This is the moment it either works or it doesn't.
